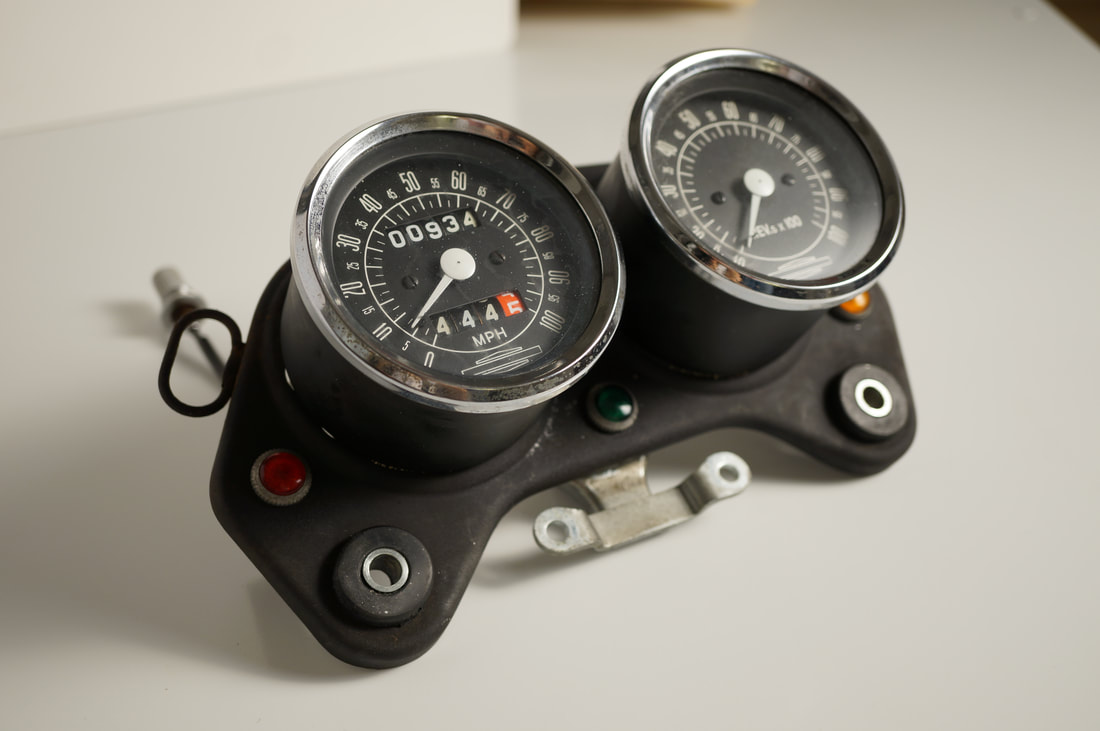
 The rebuilt instrument cluster with its new bracket, polished hardware, and painted gauges.
There was nothing wrong with the old bracket, per se, in fact we could have just spray painted the old one, but who could resist a $7 steal on Ebay for a NOS part. Part of the satisfaction comes from scavenging old parts online!
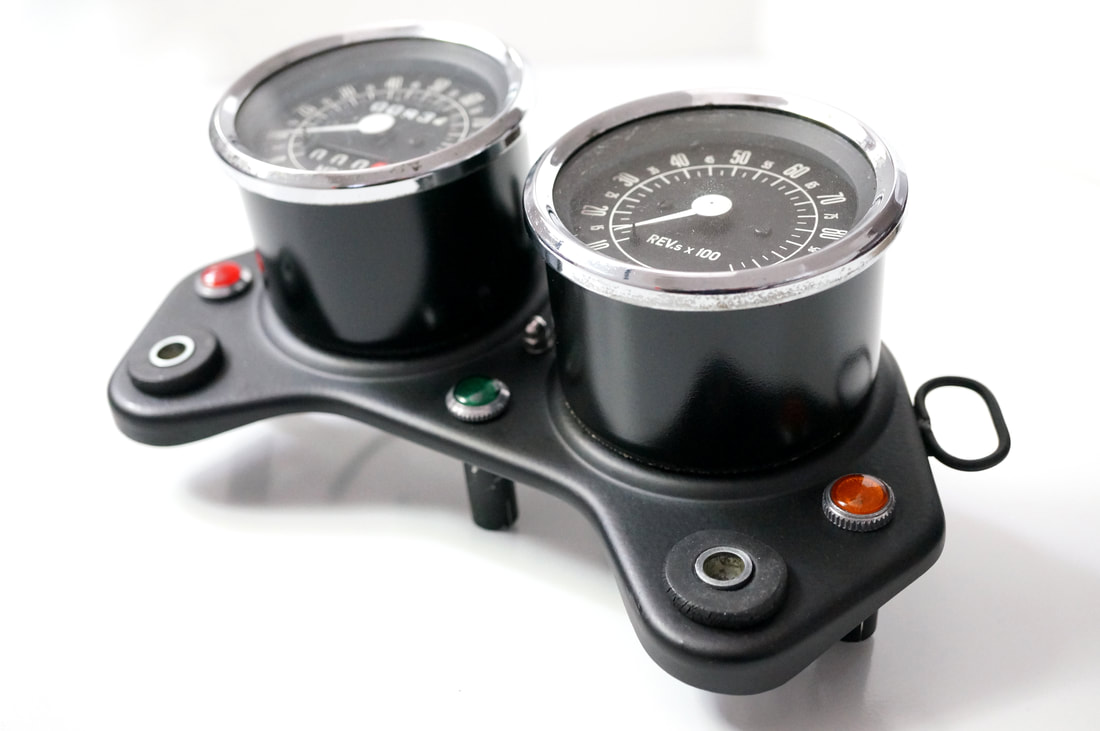
 After removing all the original fittings from the bracket, we went to town, polishing the knurled chrome rings framing the colored lenses, the dial on the trip meter, and all the visible mounting hardware. The 47 year old rubber gaskets need to be replaced at a later date since they're losing their pliability, but we're anxious to put this component back on the bike. 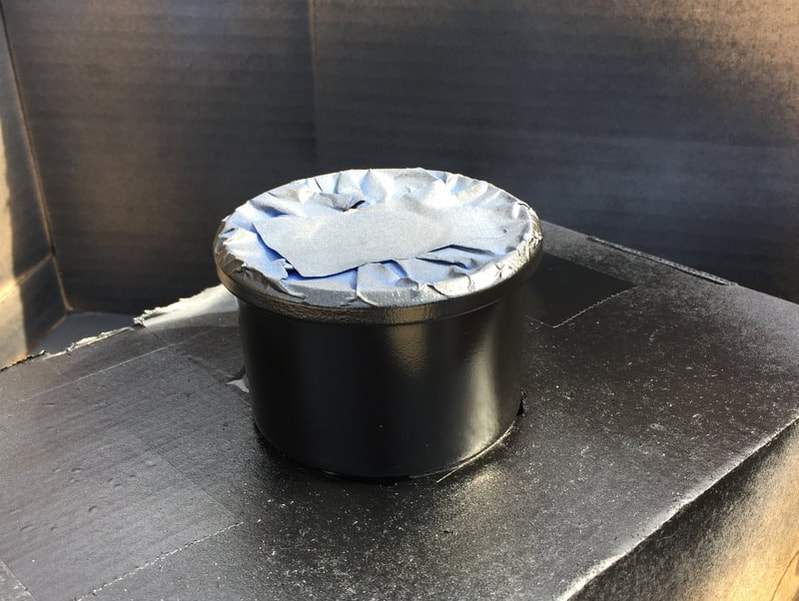 Spray painting… it's all in the set-up! The following day, we sanded the gauge bodies and readied them for painting. (Good weather and low winds were on our side in NYC that day!) We chose to use Rust-oleum® Black Semi-Gloss Protective Enamel, after a good prime coat. Overall, the new bracket with its polished fittings looks great. While it's off the bike, we can drool at it while admiring our handiwork and its fine Italian aesthetics. But before it gets installed again, we change the fork oil… 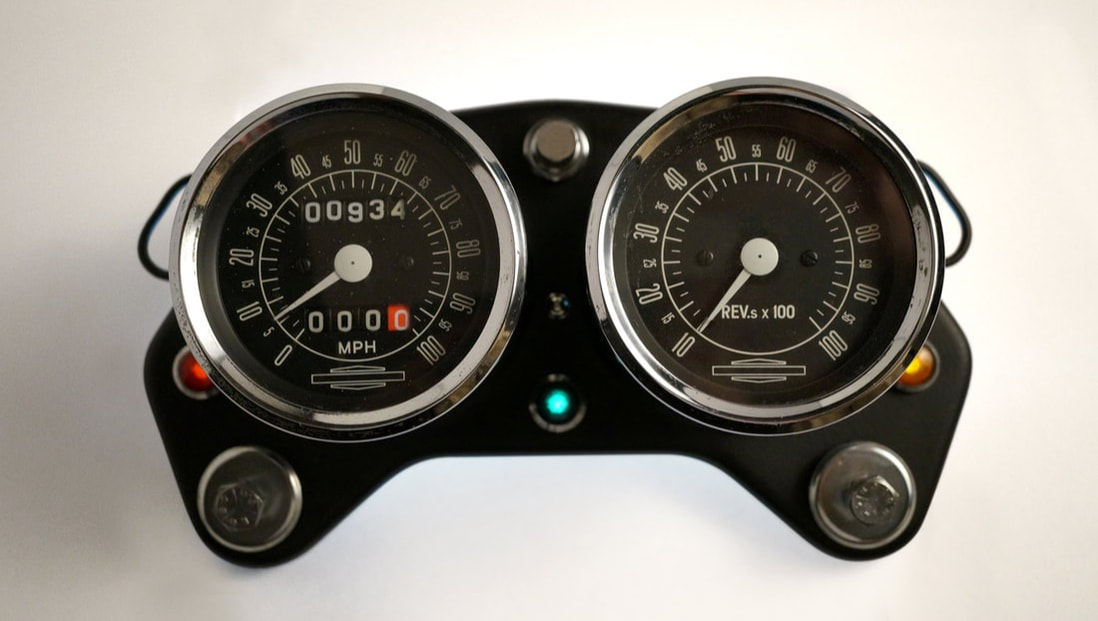 Lenses have been backlit for the full on-bike effect.
0 Comments
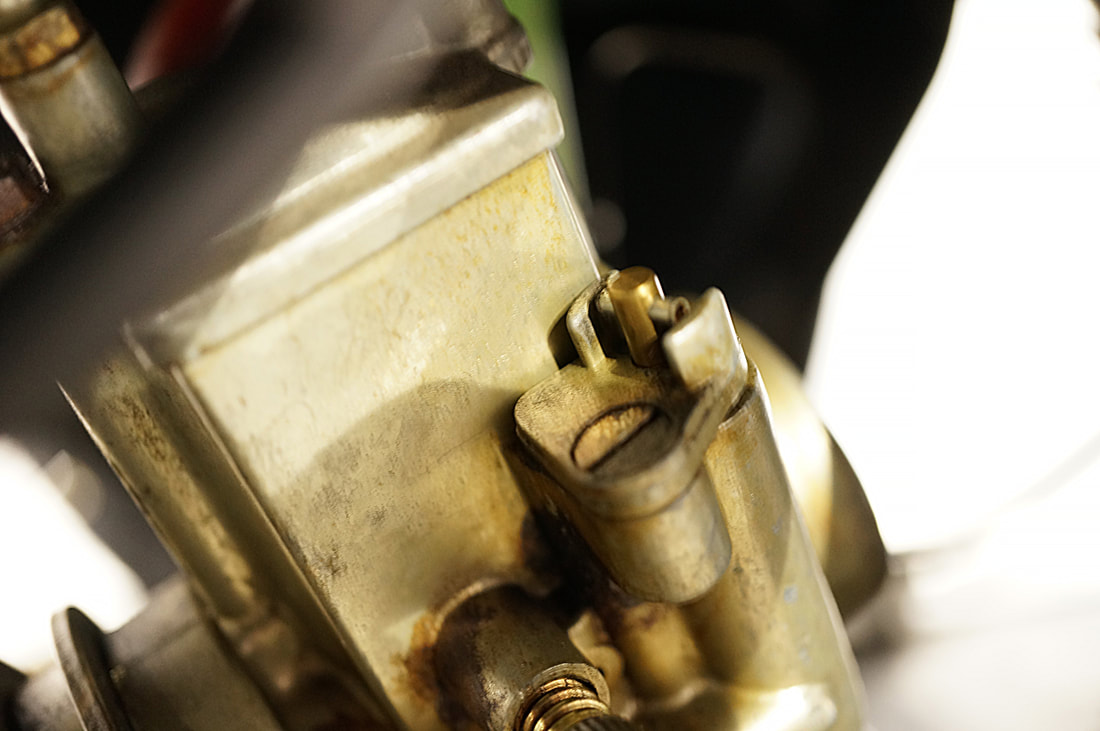
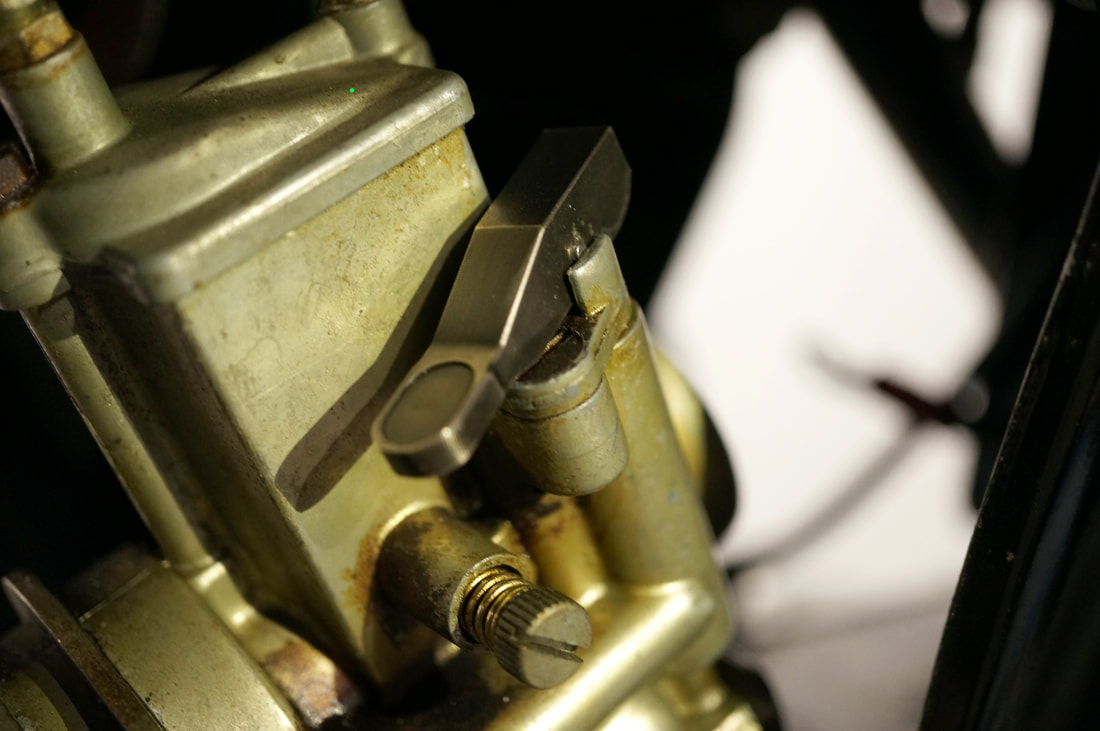 [We are now coming to terms with the fact that it takes more time than we anticipate to install parts on this bike…] The bike in its purchased condition was missing the choke knob (same as my previous AMF Harley), so this afternoon we received our choke lever from Ebay and excitedly ran into the garage to install it.  We managed to lift the choke rod up with some needle nose pliers, and after a some encouragement, pulled out the original pin (both ends appeared to be flanged). The new choke lever looks good and seems to function well (we haven't ridden it since the handlebars are currently off as we await tools to aid us in our speedo bracket replacement.)
Update 05.05.20: After being annoyed by the pin sticking out, we got in touch with the manufacturer of the choke lever who told us we needed to remove the carburetor from the bike for installation. Doh!
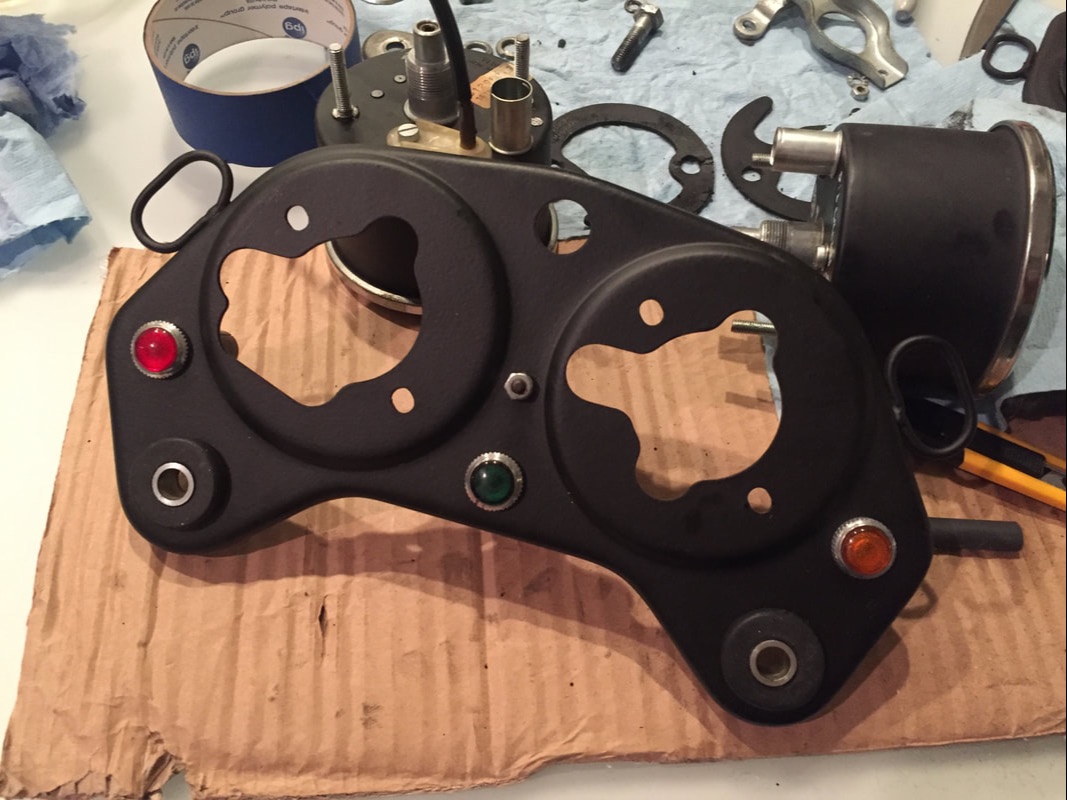
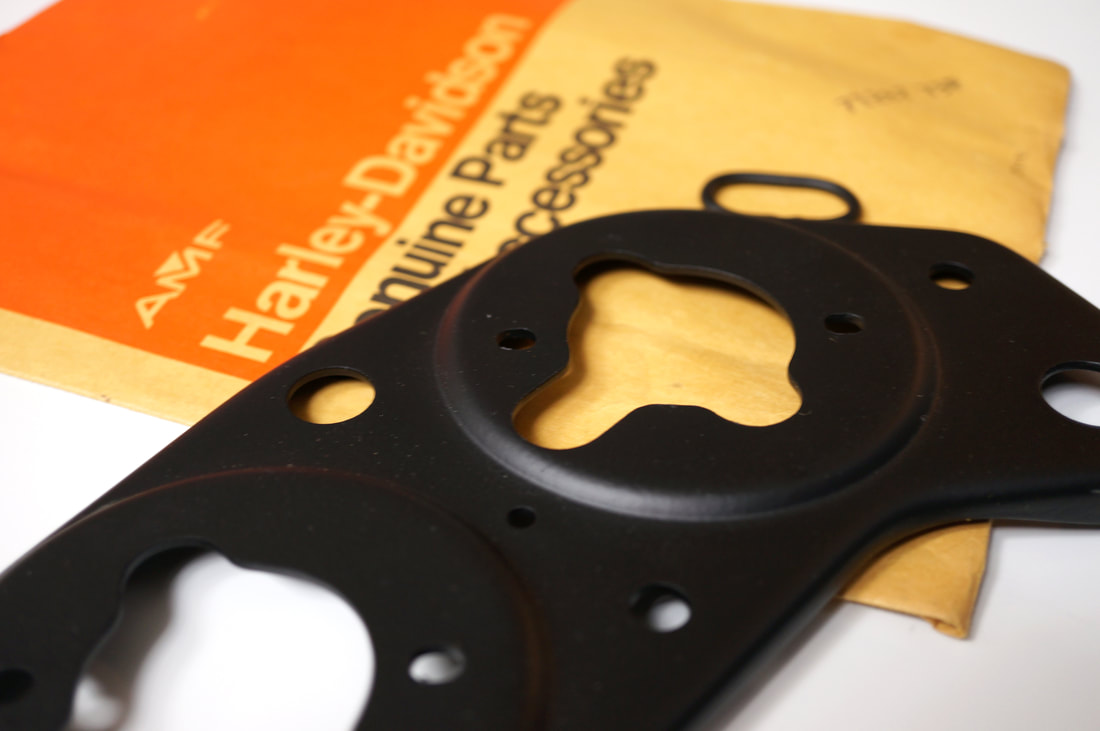 We got this new old stock instrument bracket in the mail today, wrapped in its super cool Harley Davidson 70s packaging. The NOS bracket has a little ding on the front (maybe it was a factory "irregular") but otherwise looks great with it's original paint finish. Our current bracket is rusted and the oval tabs look like they might break off with the force of a pinky.  Trying to remove the instruments proved to be a learning experience in patience. Unlike the near-to-instant gratification of polishing the rust off the chrome, getting into actual bike components is a slow, careful navigation of unfamiliar engineering. Add to this, trying to gingerly remove the nearly 50 year old parts so we don't damage them in the process. This includes old rubber gaskets, trying to not break aluminum bolts, and trying to not crack any difficult to find plastic parts. Removal required:
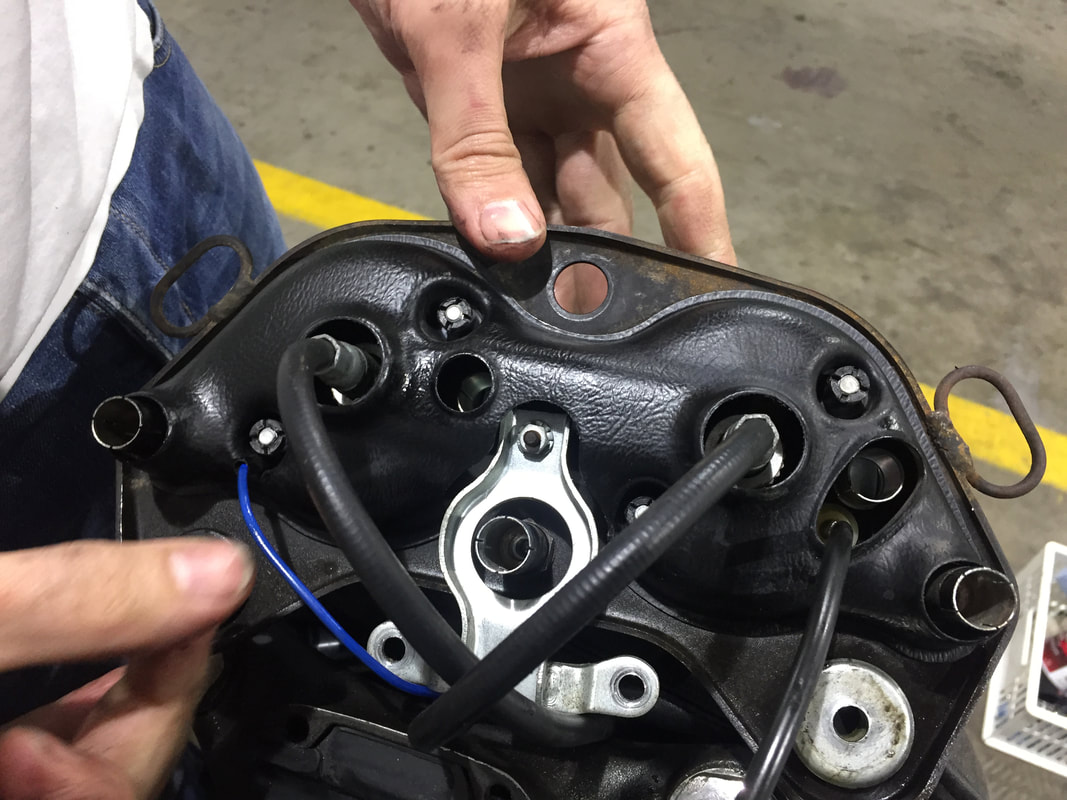 Here, we ran into a roadblock. The four screws attaching the molded plastic shell forming the underside of the instrument cluster seemed permanently attached. Were they press fitted on to the posts? Did we need to unscrew the strange plastic sleeves which we'd never seen before? [NB. The service manual is barely helpful and we were trying to be delicate with all the parts instead of ripping them off with brute force.]  The bracket that we thought we'd install in half an hour…LOL. 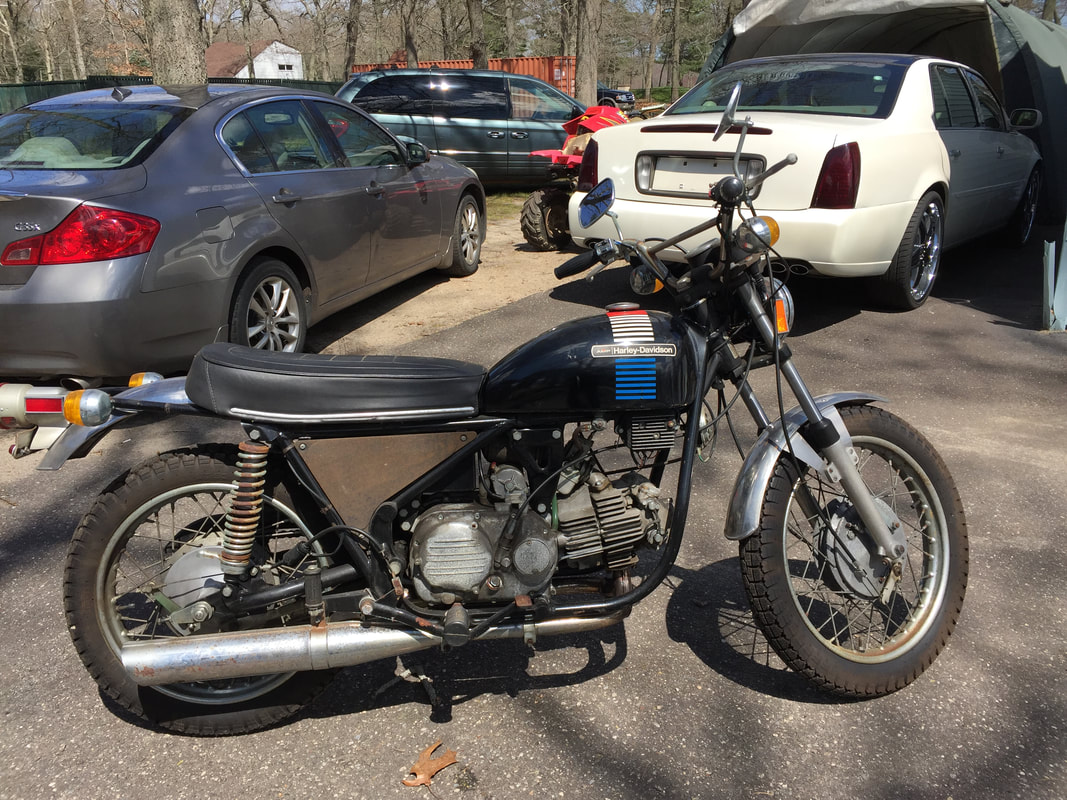 The Aermacchi as it was purchased, with its rusted, brown side panels. One of the worst eyesores on the bike was the side panels which had been completely rusted out. From what we can surmise by examining the protected screw holes, the original paint seems to have been a textured black. Thanks to its easy removal and its mostly flat surface, the side panels were also one of the first parts we endeavored to re-finish. 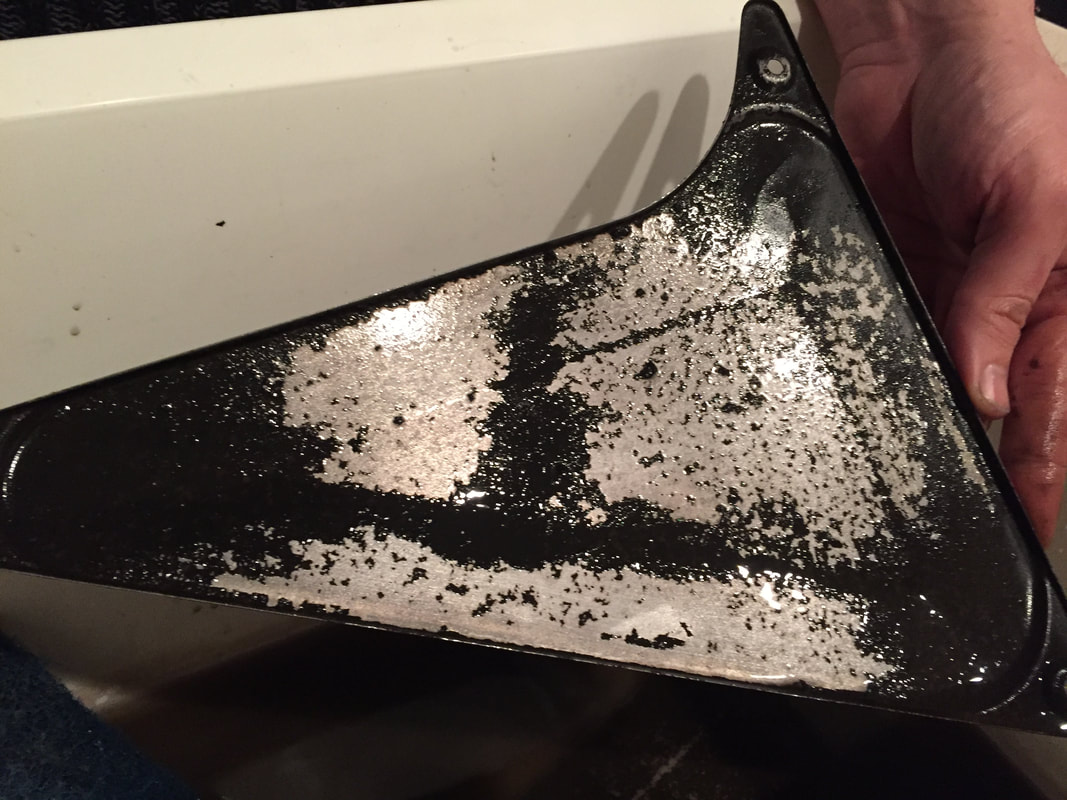 The vinegar pickled the paint on our panels. After removing most of the rust with a heavy duty stripping pad, the panels were soaked overnight in a vinegar bath, less noxious than a chemical remover. While we were expecting the vinegar to obliterate the rust, it also lifted the paint off which was actually to our benefit as we decided to have the panels powder coated in a textured black.
Soaking the panels in the acidic solution meant we had to work quickly to remove the last bits of stubborn paint because the panels began to quickly oxidize. They were then oiled for protection for further oxidation, packed up, and shipped out to Texas where they're in the process of being finished.  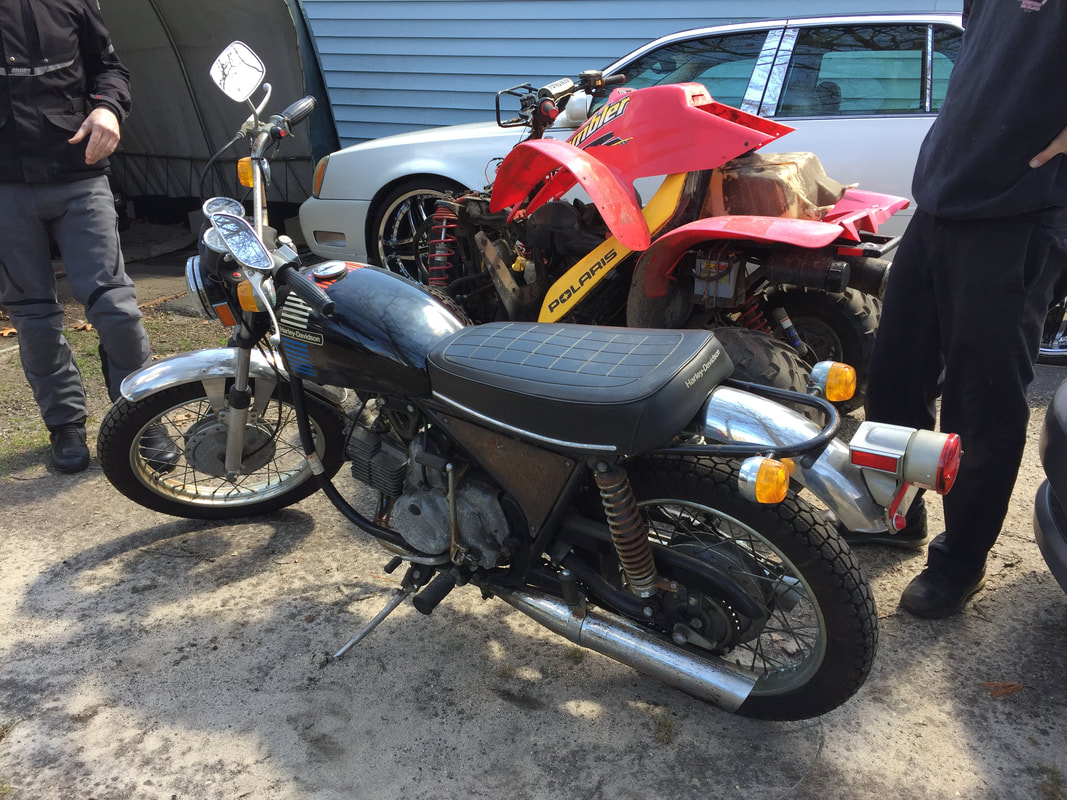 We were not in the market to buy a bike. But thanks to the shelter-in-place mandate here in NYC, one Saturday afternoon, we found ourselves waxing poetic about the bikes we used to own, which was followed by looking online at old motorcycles on the auction block. In 2008, I owned a 1973 Aermacchi Harley-Davidson SS350 Sprint, purchased with an attached sidecar for the purpose of getting around town with my dog. Strangely enough, we spotted one on Marketplace, and made plans to casually see it in Middle Village, Long Island the following Wednesday afternoon.  Bandit sitting in the sidecar of my first Aermacchi, snagged from Craigslist in Connecticut, circa 2007. Cons: The 'Macchi was kept in a shed, semi-exposed to the elements, and covered in rust. But it ran…using the kickstarter (starter not operative). The ignition was drilled out. Pros: Single owner, ridden less that 1,000 miles. And, it came with all the original documentation in pristine condition. We were on the fence… until the seller brought the price down by $500. At that point, it was an offer that we couldn't refuse!
The bike is a time capsule from the 70s. From the engineering and form factor, down to the graphics of printed paraphernalia. A unique find, for sure.
At any rate, the seller dropped it off to us in Brooklyn for another hundred bucks and we had ourselves a project! |
ArchivesCategories |


 RSS Feed