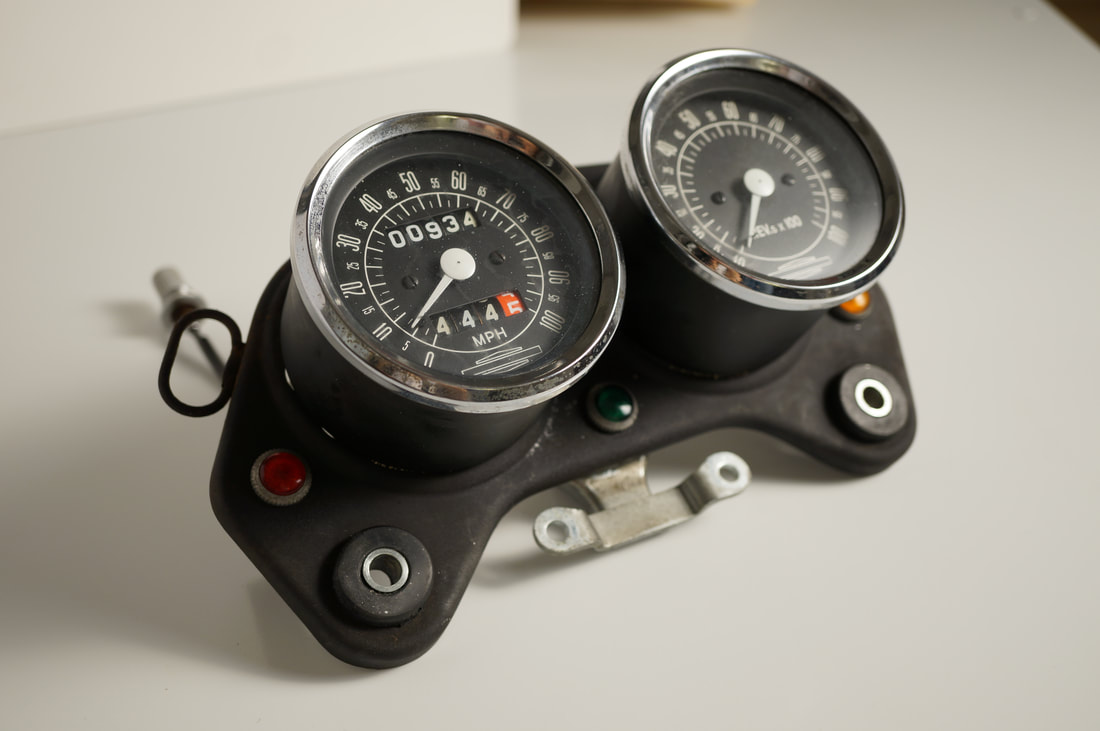
 The rebuilt instrument cluster with its new bracket, polished hardware, and painted gauges.
There was nothing wrong with the old bracket, per se, in fact we could have just spray painted the old one, but who could resist a $7 steal on Ebay for a NOS part. Part of the satisfaction comes from scavenging old parts online!
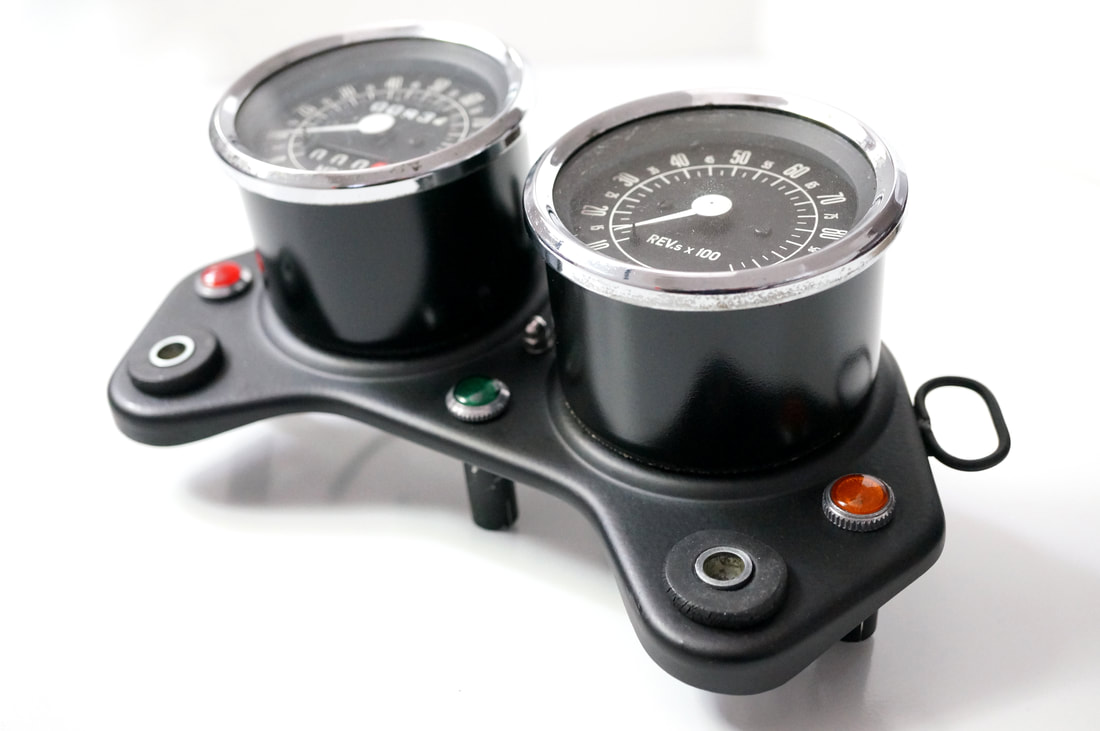
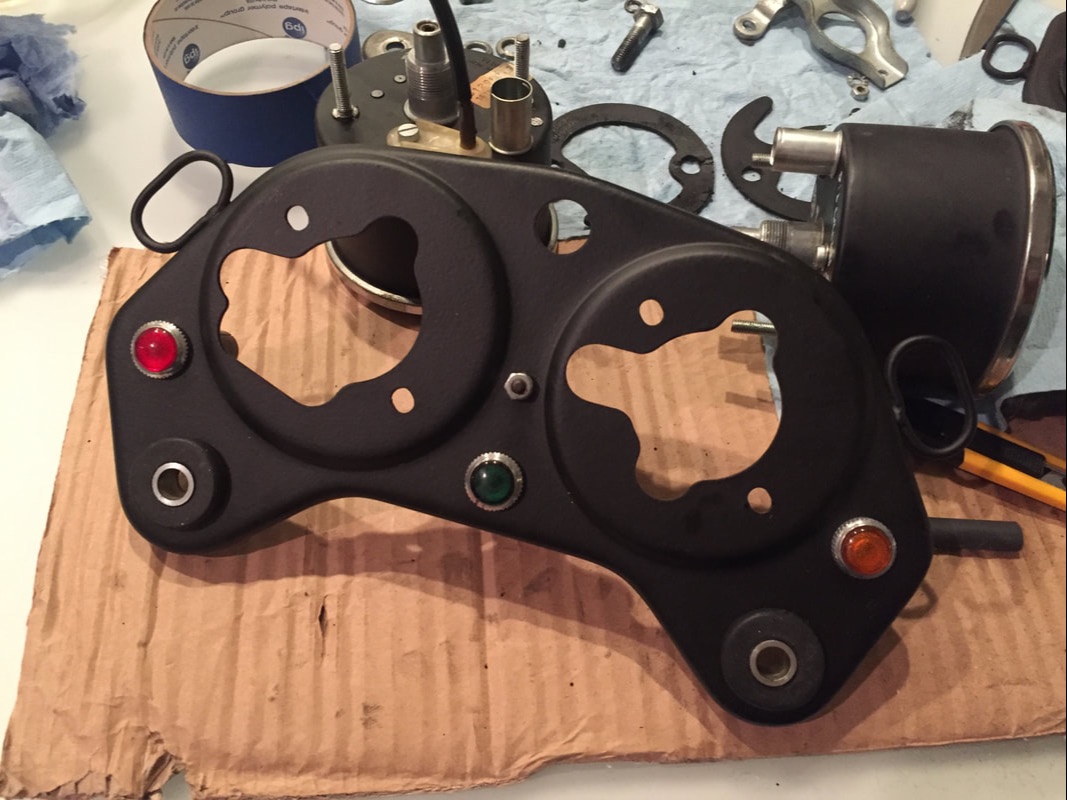 After removing all the original fittings from the bracket, we went to town, polishing the knurled chrome rings framing the colored lenses, the dial on the trip meter, and all the visible mounting hardware. The 47 year old rubber gaskets need to be replaced at a later date since they're losing their pliability, but we're anxious to put this component back on the bike. 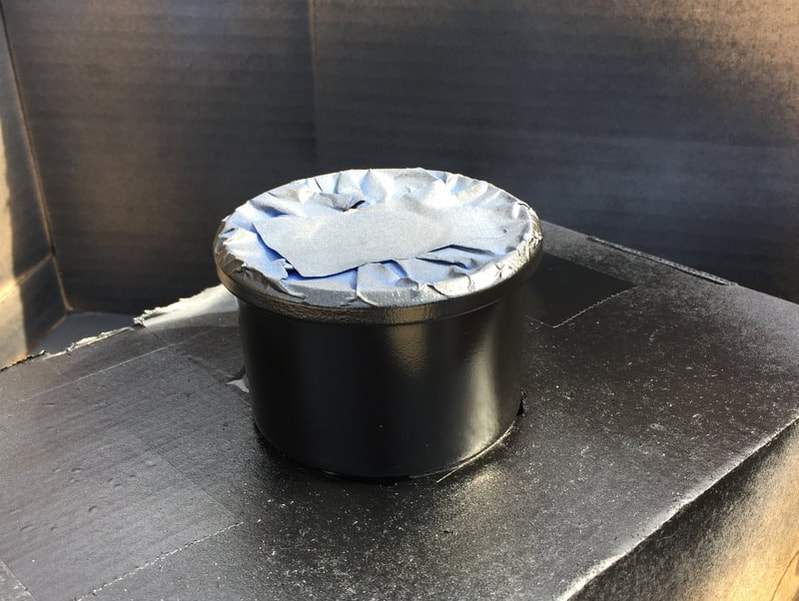 Spray painting… it's all in the set-up! The following day, we sanded the gauge bodies and readied them for painting. (Good weather and low winds were on our side in NYC that day!) We chose to use Rust-oleum® Black Semi-Gloss Protective Enamel, after a good prime coat. Overall, the new bracket with its polished fittings looks great. While it's off the bike, we can drool at it while admiring our handiwork and its fine Italian aesthetics. But before it gets installed again, we change the fork oil… 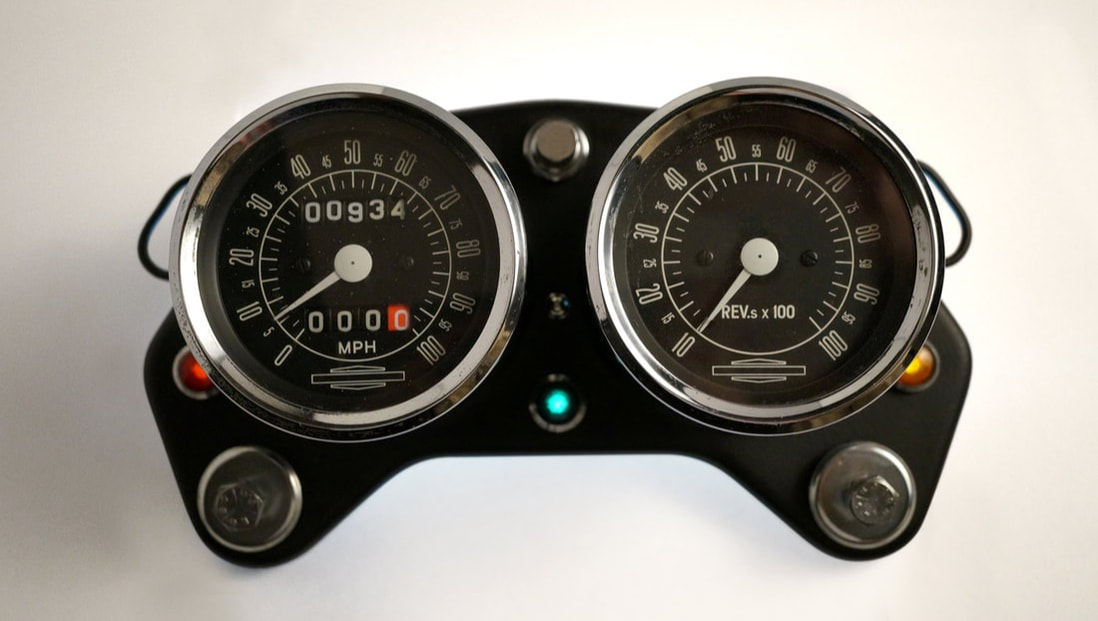 Lenses have been backlit for the full on-bike effect.
0 Comments
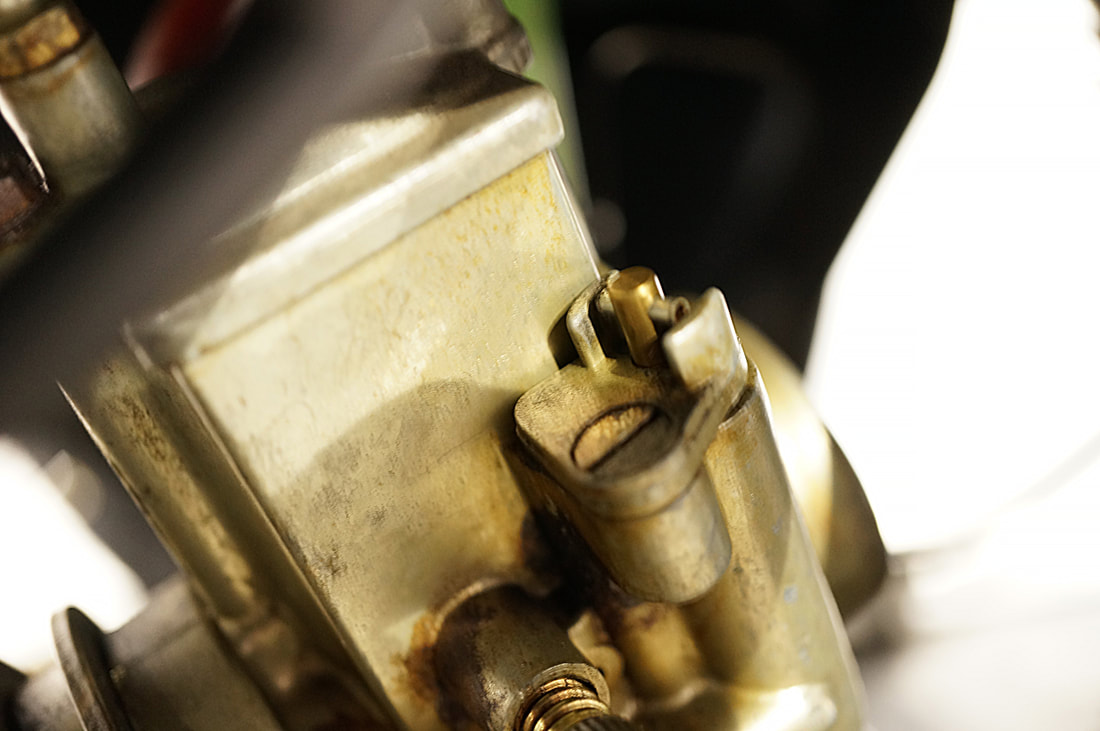
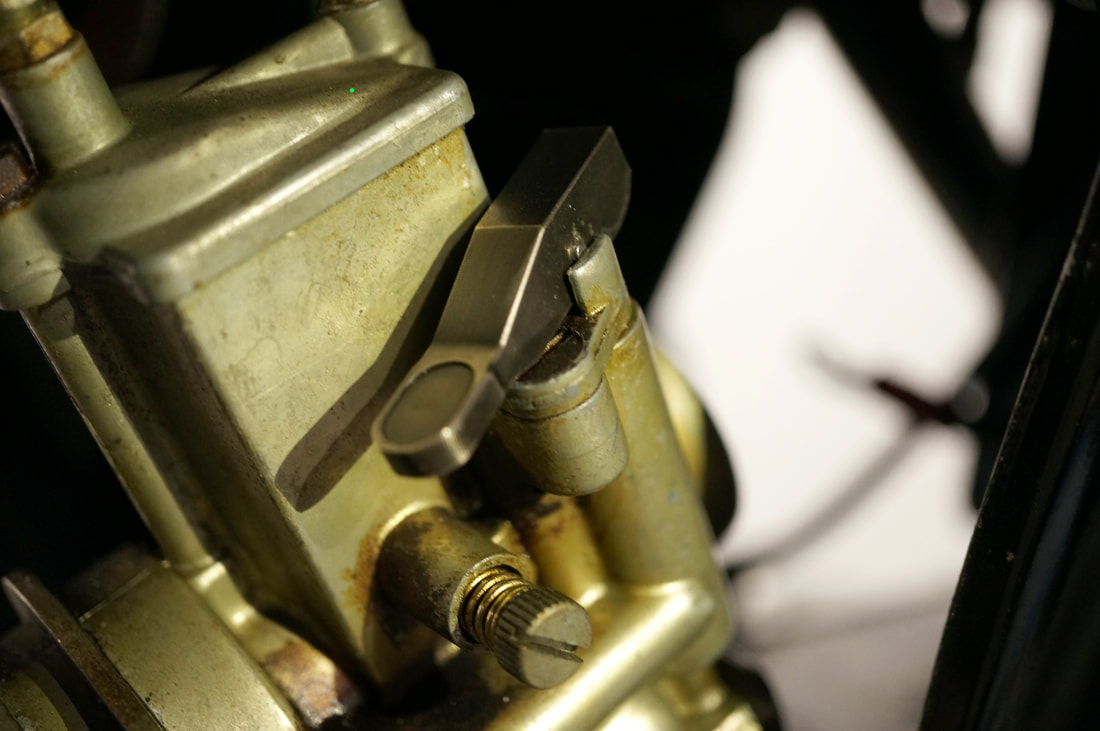 [We are now coming to terms with the fact that it takes more time than we anticipate to install parts on this bike…] The bike in its purchased condition was missing the choke knob (same as my previous AMF Harley), so this afternoon we received our choke lever from Ebay and excitedly ran into the garage to install it.  We managed to lift the choke rod up with some needle nose pliers, and after a some encouragement, pulled out the original pin (both ends appeared to be flanged). The new choke lever looks good and seems to function well (we haven't ridden it since the handlebars are currently off as we await tools to aid us in our speedo bracket replacement.)
Update 05.05.20: After being annoyed by the pin sticking out, we got in touch with the manufacturer of the choke lever who told us we needed to remove the carburetor from the bike for installation. Doh!
|
ArchivesCategories |

 RSS Feed